The kitchen was the first room of the house to be renovated. It actually all started when we hired the plumber to redo the plumbing in the bathroom, and then set it up for our future renovations in the rest of the house. And although we loved the quaintness of the kitchen as it stood when we bought it, we knew it would not meet our needs. So... IF you are going to renovate... hey... do it right!
Here are a couple of pictures of the kitchen BEFORE renovations (as in AS IS on the day we closed):


which was basically a pantry, corner cabinet (which unfortunately we were unable to save), free-standing sink unit, and free-standing stove.
Our first order in renovating was to remove everything from the kitchen, and start with a clean slate. We gave away the stove and sink unit. Then we removed the corner cabinet... AND the window. The window was identical to all of the windows in the house: Tall and narrow... AND... uninsulated.


The above photo shows the area between the kitchen and the storage room after everything from the kitchen was removed, with the exception of the staging (right) that was holding some cabinets for future use.
The photo below shows the area between the kitchen and the back porch. Notice the wall area to the left of the photo. This is where the corner cabinet once stood.

The ceiling in the kitchen had been covered with acoustical tiles, and those had to be removed first and what was left behind was large areas of hardened glue (see previous posts). Karl had to spend at least a week with the heat gun, trying to dislodge all of the hardened glue. Once we had gotten all of the tiles off the ceiling, we then started the removal of wall board (most of the interior walls were /are wood boards, although some of them had been covered with dry wall). Karl and I spent several days removing and sorting/stacking the boards we removed. We didn't put these boards back on the walls, but rather used them to patch and replace other boards throughout the house that were too damaged to put back once those renovations were completed.

The above photo shows Karl removing the boards between the kitchen and living room. Also, the wall immediately to the right is the wall that went into a storage room (later the entire wall was removed). NOTE the spots on the ceiling of dried glue where the tiles were removed!
The picture below is a picture of the pantry. It was a basic 1920's pantry, complete with tin lining!

We removed the tin and basically tore the walls down all the way to the outside walls.


The photos below show the wall removal between the kitchen and the back porch/bathroom area.


When we were finished removing the boards, all that was left were the studs, and having 2x4 solid oak and chestnut studs was a fabulous way to start a rebuild.


While removing the wall that separated the living room from the kitchen, we uncovered the back of a hidden fireplace.
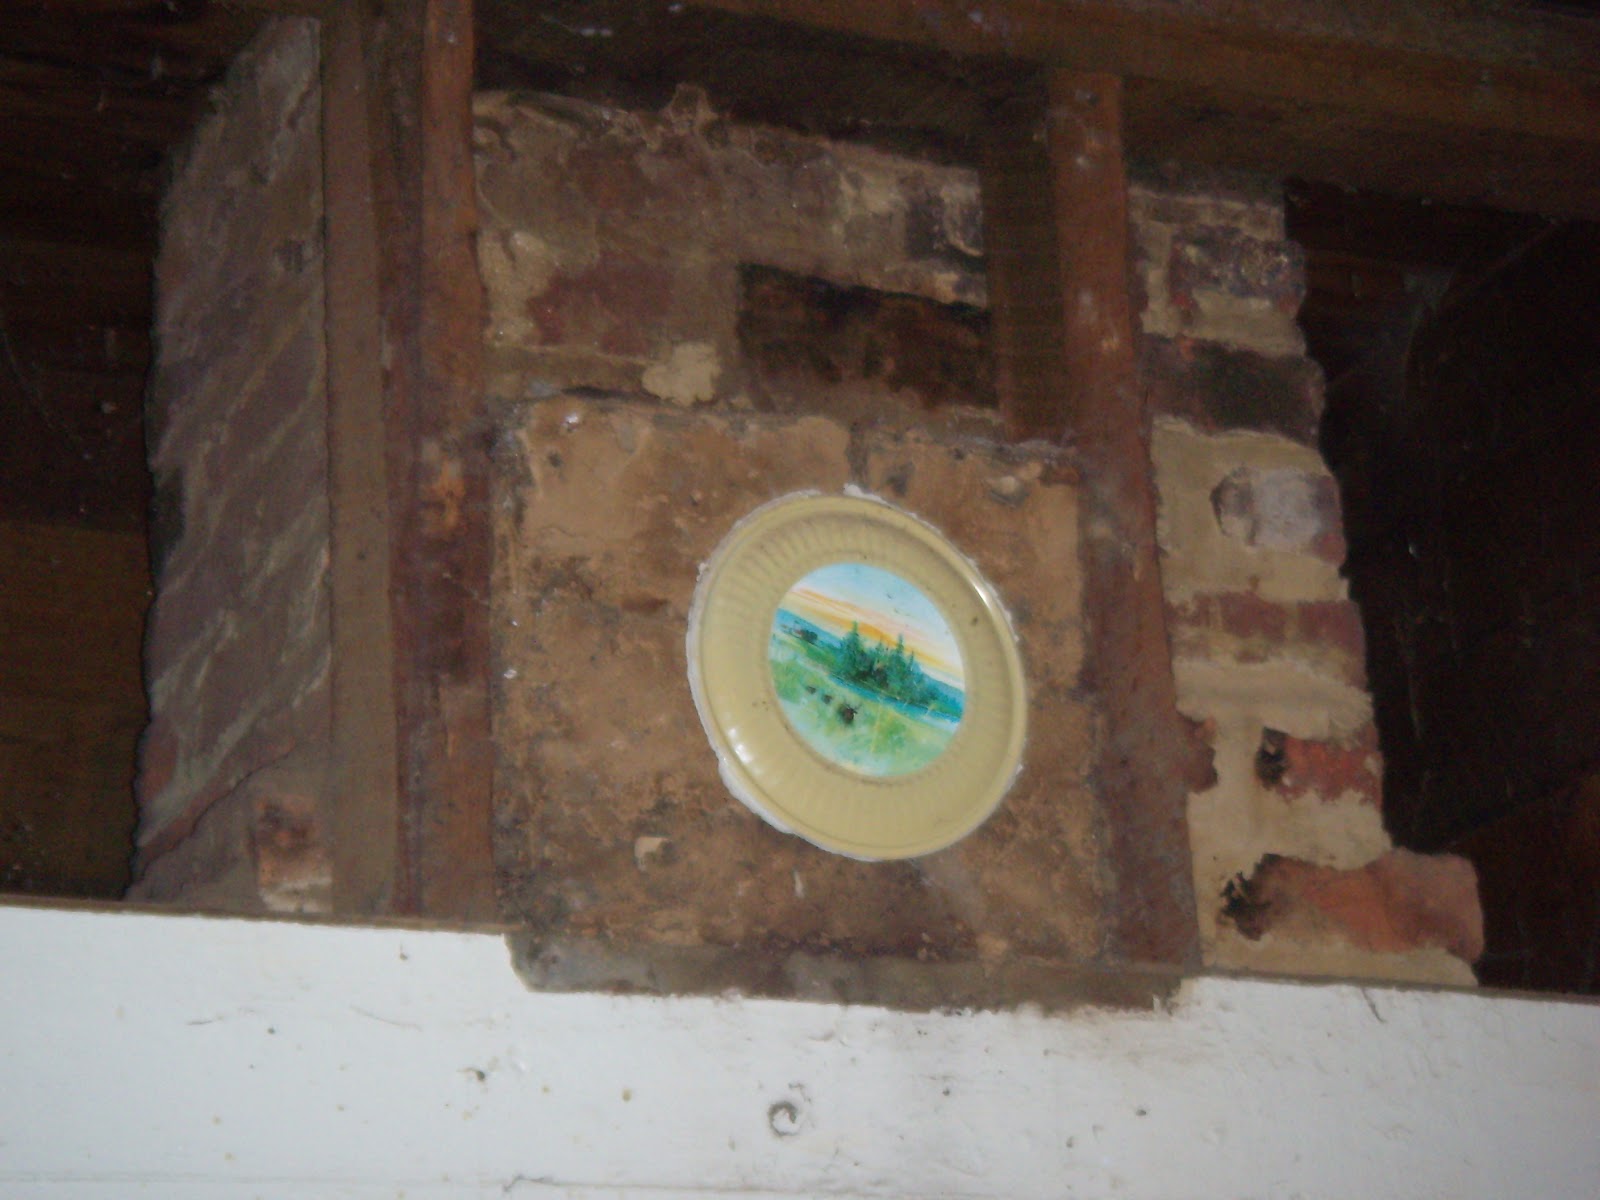


We knew there was a flue in the wall... just never imagined that it was an actual fireplace. We removed the bricks and reused them (see my recycling post) for our new fireplace. Additionally, we removed the entire wall between the living room and kitchen (with the exception of the pantry), as well as the walls between the storage room and kitchen, in order to build out a room that would be


used not only as a dining room, but as a library as well. The above views show the dining/living area once the walls were removed. NOTE the windows that were in place along the dining/library walls BEFORE renovations.
After we removed the walls, we removed the 6 layers of flooring, to include 2 layers of vinyl flooring, 3 layers of original linoleum, and a layer of plywood.

After we had the walls and the flooring removed, we turned our attention to stabilizing and shoring up the ceilings and underneath the kitchen floor. We had purchased 8 6"10" beams to give the support that was needed to otherwise sagging floors. We stained the beams and then put on a couple of coats of polyurethane (Hey... easier doing it with the beams on sawhorses than on the ceiling!).

After the beams were dry, we covered them with plastic in order to keep paint off them, and then later removed when we had finished painting the ceilings. We stretched 2 beams each across the kitchen, living room, downstairs bedroom, as well as under the kitchen floor (in the cellar, although we didn't stain the ones in the cellar).
Then... it was time to rewire and insulate the whole thing. We also had to wire for such things as a dishwasher, microwave, trash compactor and the oil-filled baseboard heat, that would not have been found in the house during its original build (This of course will be discussed in a future post).
After we finished with the insulation and re-wiring, we put up 1/2" sheathing on the walls, so that we could it use for nailing up the 3/4' boards that Karl had removed when he was renovating the Boston English Latin School in Boston, MA, more than 35 years ago. Karl had stored these boards (various lengths) in his shop since their removal. And even though he had used the majority of the boards in other remodeling projects through the years, there were plenty left for our needs. AND... yours truly... (i.e., ME) cut each of them to fit the walls! Yep... got pretty good using a chop saw.


Here's Karl lining them up and nailing them down. NOTE: Did you notice he has grown a beard since we started the renovations?
We then sanded the walls, primed, filled holes, and then painted them with a paint we found at Benjamin Moore.


It's a soothing color called "Onyx White", which we decided to use throughout most of the house. And, since we were using wood wainscoting on the walls, we went with a "Pearl Finish" (which is basically a cross between a satin and eggshell). We found this gives a beautiful, rich glow on the walls.
We then spent SEVERAL days with Karl sanding the ceilings, then us caulking and painting. We used a semi-gloss ultra-white on the ceilings in order to showcase the ceiling boards, and since we don't have huge windows, the glow reflects a lot of light (Don't you love Karl's do-rag? I personally think he would make a GREAT pirate!!!).

They turned out GREAT!
And to showcase a nice ceiling... we used the fabulous molding we removed from the old store (see previous post).


You'll see the end result in just a minute.
We tackled the pantry once we got the rest of the walls put up. Originally it was lined with sheets of tin, and where in times past mice had gnawed holes in the walls, they had since been covered with old metal canning jar tops. We decide early on to retain the integrity of the farmhouse, and when we built out the pantry (- approx. 1-1/2 ft. for room for our new fireplace), we subtracted the tin, but restored all jar lids as before.

We think it's kinda neat.


We put in several shelves, including a marble one for pastries.
After everything was just perfect (note the crown molding) it was time to add the door. As stated before, we used a door that we found at a salvage store in New Hampshire. It's called a "double-tombstone" stained glass door. Don't know if you can see the beautiful ruby-red glass, but it's very nice.


The above photo is of me cleaning the door (notice the paint spots on those jeans... been busy).
We used the old shelving that we removed from the old store, for the casings. It proved to be the perfect use for the wonderful old wood (shown before being painted).

We used age-appropriate door knobs (in this case, beautiful cut glass) throughout the house, and we didn't scrimp on the pantry.

The only thing at this point that needs to be completed in the pantry are the shelves painted.
After the pantry, we turned our attention to a laundry area. Even though the house is 2 stories, we wanted to have the bottom floor pretty much universally fitted, which included having the laundry on the 1st floor. We decided the best area was in the corner of the kitchen that once housed the corner cabinet. It was the obvious choice, due to the proximity of the bathroom on one side, and the kitchen sink on the other: perfect plumbing opportunity.


We then undertook the HUGE task of configuring the cabinetry along the walls. All of the cabinet are made from recycled wood, and we decide to top all of the cabinetry with a shelf to hold... WHAT-EVER!!!

And the old window was replaced by a smaller, albeit more energy efficient one.


We decided to add a shelf above our cubby that will house our refrigerator, to use for a wine rack.

Additionally (as stated previously) we put a shelf above the cabinets, and decided we would like to have a plate rack incorporated into the cabinetry as well. We love the final product.


How did we get these beautiful counter tops and the island? Well... Karl is a magician when it comes to building custom cabinetry.
First... the island. He used an old kitchen cabinet base (that we got at the Habitat for Humanity's "Restore" in Charlottesville, Va), as his starting point. With strategically placed additions,


as well as more of the wainscoting that was used on the walls, we had a beautiful island base. The only thing missing were the counter tops. And by golly... he had that one covered as well.
The huge oak tree that he had cut down and sawn into lumber more than 30 years previously... became a gold mine for our counter tops. BUT... getting to that lumber was the key.
We were in Wrentham, MA for the Memorial Day Celebration (Karl has marched in the parade for his hometown for most of his adult life: another story.). We had spent more than a week gathering materials from Karl's old shop that we were going to bring back to Virginia, and the last piece of the puzzle was garnering the lumber from a brush pile in back of his workshop. Karl's daughter and I spent part of an afternoon clearing brush and wild floribunda from an area about 20' square in back of his shop. When we got to a pile of tin, we stopped and let the guys take over.


Karl and his son removed the boards, and then carried them from the weeds to his shop.


It was there that the transformation process began.
The first order of the day was to measure the boards and to cut them into lengths and widths that would be run through the planer, which takes the board to whatever thickness is desired and smoothes the surface.


Even Karl's granddaughter was fascinated by the whole process, as Karl runs the boards through his table saw to start the process. The boards are then given to his son, Karl, Jr. "Little Karl" and he then runs them through the joiner.

After this, the boards were run through a planer (excuse the water marks on the photo).

This machine smoothes out the edges, as well as straightens out any curves so that the boards can be glued together. Our dog, Bella was still a puppy at the time, and she loved playing with the shavings that came from the planer.

After this process, Karl took the smoothed boards and made slots to hold "biscuits" in order to strengthen the gluing process, and then glued all of the boards together and clamped them to dry.


It was nice to have help from not only his son Karl, but also his son Kirk. These counter tops are 2" thick oak and not easy pick up or maneuver. Thanks guys!
When we got them back to Virginia and in the farmhouse, Karl cut them to the appropriate size and shape for our counter tops. He spent days cutting and sanding and getting them just perfect. Then he stained them with a dark chestnut stain. Beautiful.


And then afterwards he put on his special "French Polish" to protect them. Now... isn't it amazing how an old piece of wood...

Can turn into something so beautiful? LOVE my counter tops!!!

Finally, the last piece of our kitchen remodel was done before all of this, and it's our fireplace.

We had the masons to build a double flu onto the fireplace, so that it would accommodate a beautiful 1920's Queen Atlantic wood cooking stove that we had purchased.


It came from Bryant Stove and Music in Thorndike, ME. After we purchased it, we put it in one of our sheds. I plan on learning to cook on it, as I grew up with my mother cooking on one. Plus, it looks great.
Hope you have enjoyed just a little bit of our kitchen remodel. It took Karl and I several months to complete it, but we enjoy working together and did it the way we wanted. Once we get moved in and if you are ever in Floyd, a welcome sign is on our door and I promise to make a home cooked meal on the wood stove (ahem...that is after I have mastered it).
No comments:
Post a Comment